Before you can build a flexible pivot table, you might need to rearrange the data. For example, if the data has a separate column for each month’s sales, that won’t work well in a pivot table. You need to “unpivot” your data first. Here’s what that means, and 2 quick ways to unpivot Excel data.
Excel Dashboards
First, a reminder that today, Thursday August 18th, is the last day to register for Mynda Treacy’s highly-rated Excel dashboard course. Don’t miss out – it well be a few months before the course opens again! You’ll learn how to create awesome dashboards, quickly and efficiently, and you’ll pick up other key Excel skills too.
What Does Unpivot Mean?
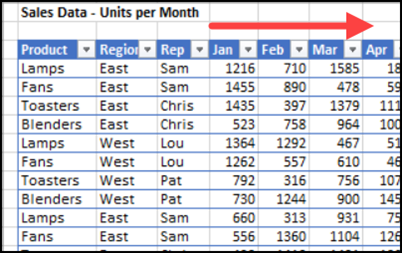
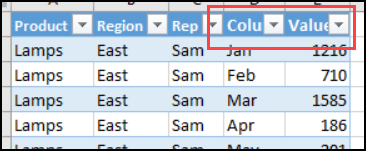
If your data has a separate column for each month’s sales, it already looks like a pivot table report. Instead of having a separate row for each month’s sales, each row contains 12 months of sales data. It looks good on the worksheet, but won’t work well in a pivot table.
When you build a pivot table from that data, there will be 12 different fields with sales amounts – one for each month. The pivot table won’t be able to automatically calculate an annual total. You would have to create a calculated field to add all the month values together.
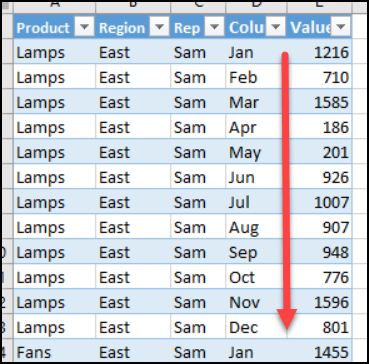
So, if the data already looks like a pivot table, we need to “unpivot” it, and put each sales amount on a separate row. Instead of a column for each month, all the dates should be in one column, and all the sales amounts in another column. Then, the pivot table can summarize the data, and show it in separate columns, or just show a grand total.
UnPivot Excel Data With Get & Transform
Do you have a version of Excel where Get & Transform is on the Data tab? Or, do you have Power Query installed? If so, you can use either of those tools to quickly unpivot Excel data.
To use this technique with Get & Transform:
- Select a cell in a named Excel table. (Or select a cell in a list, and it will be changed to a named Excel table)
- On the Ribbon, click the Data tab
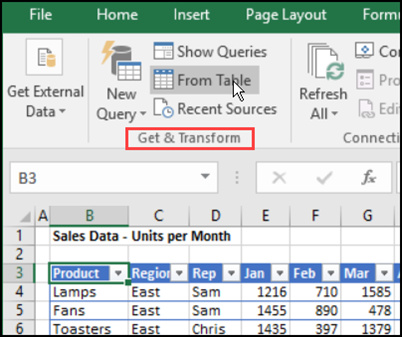
- In the Get & Transform section, click the From Table command
- In the Query Editor, select all the columns that you want to group into one value field. In this example, all the month columns are selected. (Tip: Click on the first month column heading, then Shift+Click on the last month heading.)
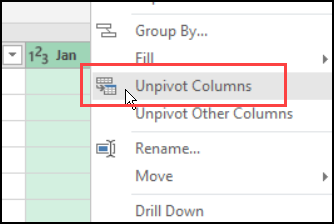
- Right-click on one of the headings, and click Unpivot Columns
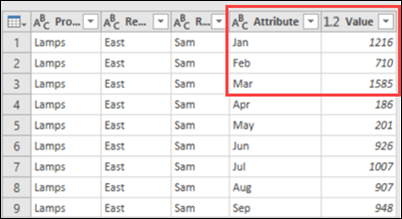
- The unpivotted data will appear in the Query Editor, with the heading names in an Attribute column, and the amounts in a Value column
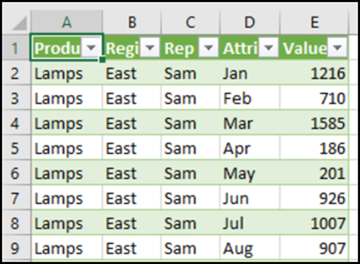
- Then, click the Close and Load button, to return the data to a new Excel worksheet.
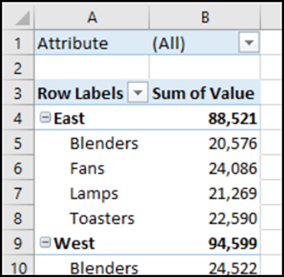
- You can use the new data set to create your pivot table.
NOTE: The unpivotted data is connected to the original data. If you update the original data, or add new records, they will automatically appear when you refresh the new, unpivotted data set.
UnPivot Excel Data With a Macro
If you don’t have Get & Transform or Power Query, or if you prefer not to use them for this task, you can use a macro instead.
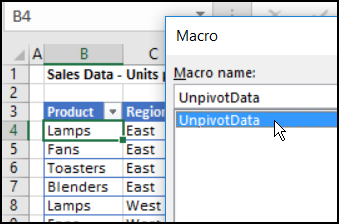
I’ve created an UnpivotData macro that you can use, if you don’t want to build your own. This macro is based on a trick that creates a Multiple Consolidation Range pivot table, then uses its Show Details feature to “unpivot” the data. For a simple data set, you could do this manually, and there are instructions here.
For data with more than one or two label fields, a macro will make the job much quicker. My UnpivotData macro will unpivot Excel data for you, as long as it meets a couple of minimum requirements:
- The data must be in a named Excel table
- Label columns (for your pivot table row, columns and filters), must be at the left, and value fields at the right.
- The macro puts all the value fields into one common field, so don’t use this macro if there are different types of values in the data, such as sales dollars, and unit counts.
Running the Unpivot Excel Data Macro
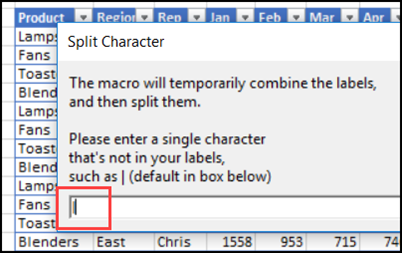
When the macro runs, it will ask you to enter a split character, so it can temporarily combine the label columns. Be sure to enter a character that is not used in your label columns, or the macro won’t process the data correctly.
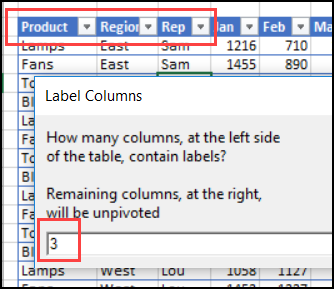
Next, you will asked to enter the number of label columns in your data.
This macro will leave the original data untouched, and it creates a new workbook with an unpivotted data set that you can copy to another location.
NOTE: The new data is meant to replace the old data, moving forward. The two data sets are not connected, and if you update one, it will not automatically update the other.
Download the Sample File
To test the Unpivot Excel Data macro, you can download the sample file from my website.
That link takes you to the Unpivot Excel Data Macro page, where there are a few more details on how the macro works. Then, scroll down to the Download Sample File section, and you’ll see the link for the sample file.
The zipped file is in xlsm format, and be sure to enable macros when you open the file. It has an “unpivotted” table that you can use for your test.
_______________

Thankyou, it saved me a lot of time.
The unpivot macro has a limitation though. I was using this in a different context where I had text columns as well – and these columns had values with character length > 256. Excel has a default limitation of 256 characters in string columns in pivot table. In that case this macro is not useful.
Is there any other workaround?
Hello, I am facing the same issue of 256 characters. were you able to find any workaround for it?
Amazing, thanks!
I just want to thank you this was very helpful
Great tips. Saddly, the company I work does not have the Excel Version with Power Query. And the database I use has multiple types of values, like Revenues, Volumes and Cost, so the Macro won’t work.
The way I found to transport those periods from different columns into a single one, is managing fields within a Pivot Table that I use a mask.