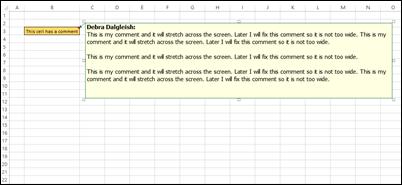
Occasionally, for reasons unknown to anyone other than the centuries-old trolls who live in underground tunnels at Microsoft, Excel comments resize themselves. They get really wide, or narrow, and become almost impossible to read.

To fix this problem, there is a macro on my website, written 13 years ago by Dave Peterson, which resizes comments in a selected range. It changes each comment to AutoSize, and calculates the area of the AutoSized comment. Then, it sets a specific width, and calculates the height, from the area and the width.
Recently, someone asked if there was a better way to resize comments, because that method created too much blank space at the end of some of their comments.
And thus began my harrowing journey through the dark and scary forest of comment resizing. (insert dramatic music here)
The Problem Comments
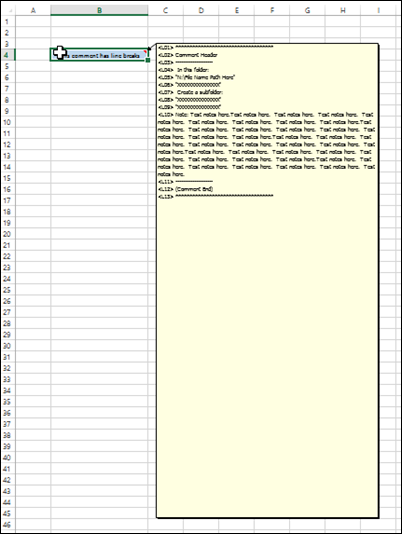
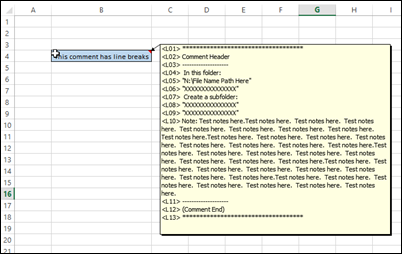
The area-based comment resizing works well, if the comment is a simple text string, with only a line break or two. The person who asked about a different method had comments with many line breaks, with a few long lines of text, and several short ones.

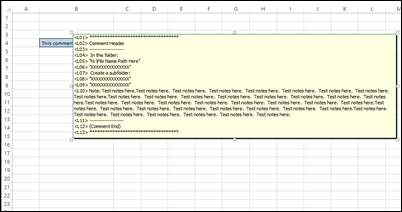
When you AutoSize a comment, its width increases to fit the longest line of text, as you can (barely) see in the screen shot below.

Except for that one long line, most of the comment is blank space. When you calculate the area, and divide by a set width, the height is much greater than it needs to be. All that blank space appears at the bottom of the comment shape.

Add the Comment Text to a Cell
After some deep thought (I might have dozed off a couple of times), I decided to copy the comment text to a cell on a temporary worksheet. Then, I could make the column a specific width, and AutoFit the row height. That row height could be used to calculated the comment’s height. Genius!
So, I wrote some code to add a temporary sheet in the file, paste in the text, set the column width and get the height.
That doesn’t sound too bad, but it’s like working as a translator at the United Nations –
- the comment height is in pixels,
- the .Column.Width property is in points, and
- you can only change the .ColumnWidth property, which represents the number of characters that will fit in the column. One unit of column width is equal to the width of one character in Normal style.
Easy-peasy!
Anyway, I finally cooked up a formula to convert everything back and forth, and the first few tests went well.
Limits to the String Length
Then, I hit a snag. If a comment was longer than 255 characters, only the first 255 characters were copied into the cell. Some parts of Excel have improved with age, and other parts, like the 255 character string length limit, haven’t changed since Excel was invented.
Sigh.
With some help from Google, I found sample code that would copy text in 250 character chunks, and move it to another location. Coincidentally, the code was written by Dave Peterson, and posted in the old Excel newsgroups. The code was designed to copy text from one textbox to another, but a comment is a shape too, so I figured it could be tweaked to fit my workbook.
TextFrame Changes
Unfortunately, the code didn’t run correctly in Excel 2013. I know that Dave writes great code, so what could the problem be?
A bit more digging, and I found that things changed in Excel 2007 – you can’t insert characters at a starting point that is beyond the number of characters in the shape’s text frame. Or something like that! My head hurt too much to read all the details.
So, I changed some empty strings (“”) to blank spaces (” “), and things started working again. Even the longest comments were being copied correctly, into the worksheet cell.
Set the Row Height
After the text was copied to the cell, the specific column width was set, and then the code AutoFit the row height. That height could be converted to pixels, for the comment height.
For short comments, that method worked perfectly. For the longer comments, I hit another snag – the maximum row height is 409. I couldn’t use merged cells, because they don’t AutoFit, as you probably know.
Another sigh.
So, I changed the code, so it put the first 3 loops (750 characters) into cell A1, then next 3 into A2 and the next 3 into A3. (If your comment has more than 2250 characters, it’s too long!)
Then, I AutoFit rows 1:3, and got the total height from the used rows. This was starting to feel like an episode of MacGyver, instead of a programming session.
Success At Last
Woohoo! That worked! The problem comments looked better than they did when resized with the old Area method.

That’s the short version of the story. I won’t bore you further, with all the gory details of head banging, shaking my fist at the VBA editor, and glasses of wine (for medicinal purposes).
Download the Sample File
If you’d like to see the completed code, and download the sample file, you can visit my Excel Comments Programming page. In the Resize Comments section, look for Macro 3: Resize Comments based on Test Cell Row Height. The download link is at the end of the page.
The file contains code for both the old and new methods, so you can see the differences. Just select the cells with comments, then click one of the buttons. The summary table in each section shows the measurements.
If you find any problems in the code, please let me know – but break it to me gently!
______________________

THANK YOU! I never imagined that this would be such a long, painful journey to get Excel comments to autosize (for height) while specifying a maximum width! I imagine less than 10 lines of code in the internal Excel autosize function could have fixed this lifetimes ago! Instead we have to perform voodoo!
Thank you for sticking thru to the end. And thank you to Dave Peterson and any others who contributed code along the way.
Thank you for your help, this is a real life saver !